2022 Muscarelle Chalk Art Competition Prizes:
Youth (ages 13 and below)
1st prize: $100
2nd prize: $75
3rd prize: $50
3 Honorable Mentions: $25 each
Emerging (ages 14+)
1st prize: $500
2nd prize: $250
3rd prize: $125
3 Honorable Mentions: $75 each
Advanced Artists (ages 18+)
1st prize: $2500
2nd prize: $1500
3rd prize: $1000
3 Honorable Mentions: $300 each
Competition Level Guidelines
Youth Artists (ages 13 and below)
Create an original work based on the theme “Fun in the sun!”.
Emerging (ages 14+)
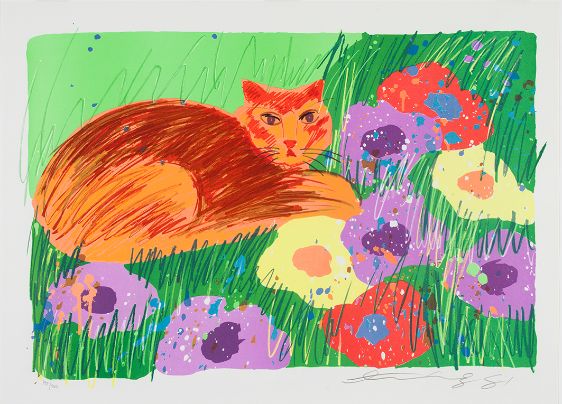
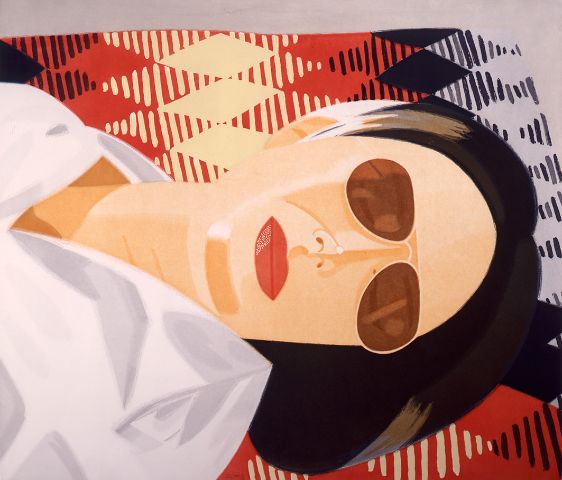
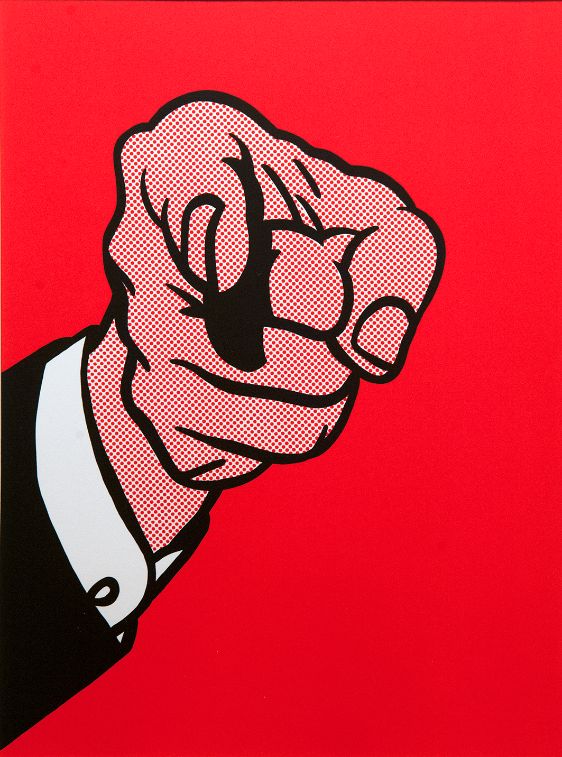
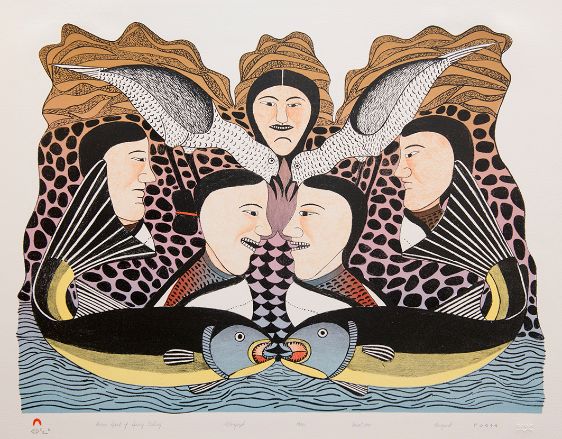
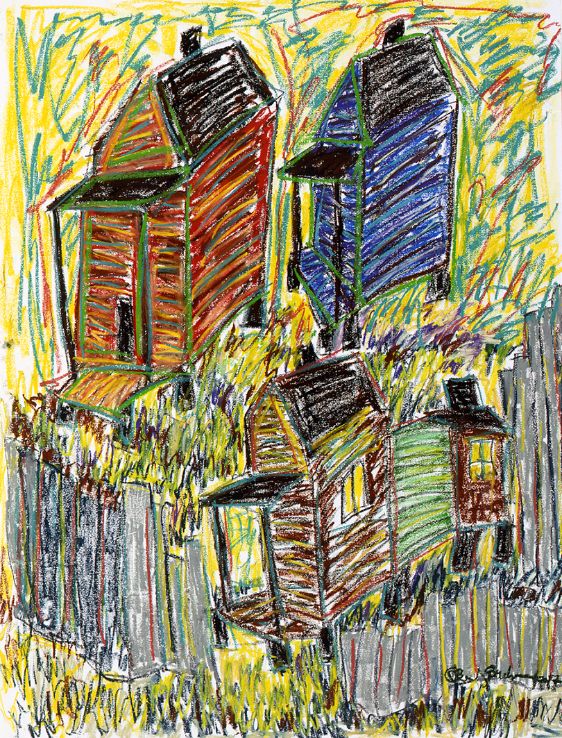
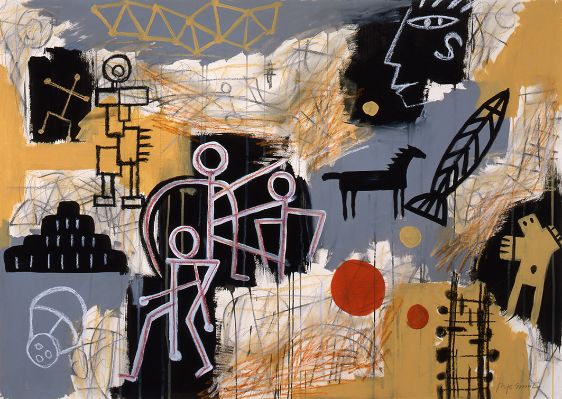
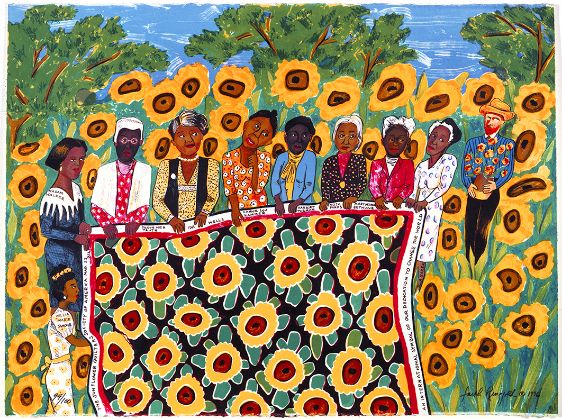
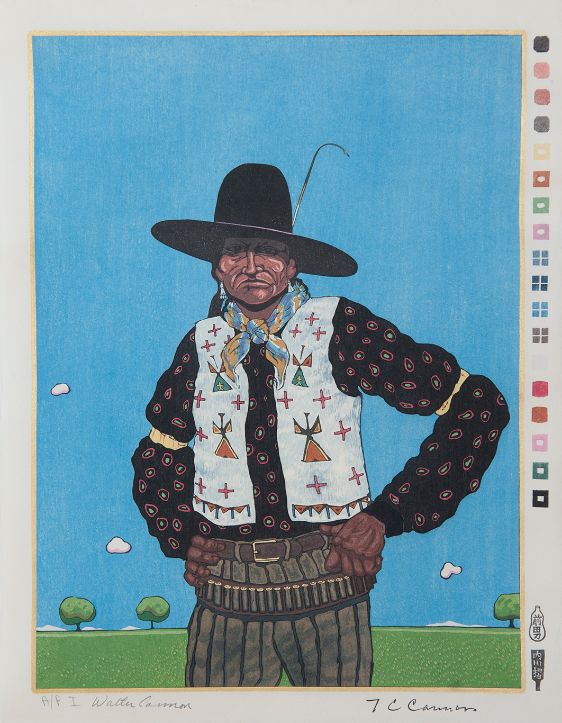
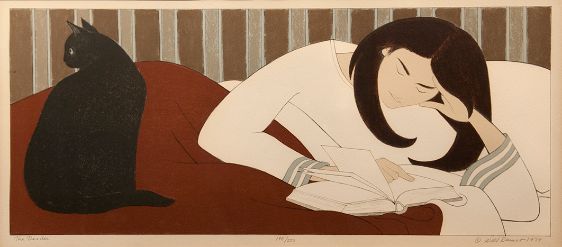
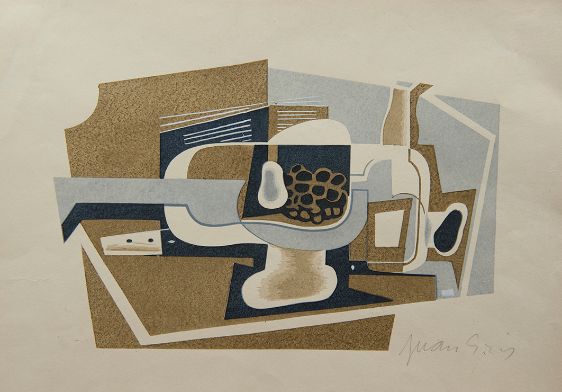
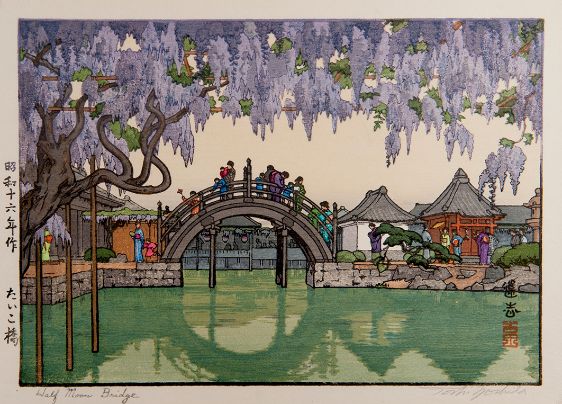
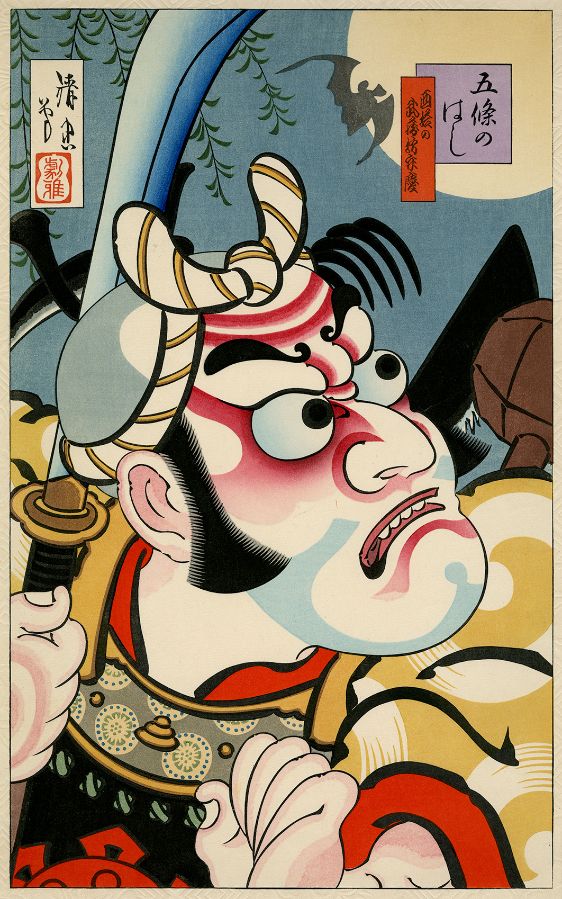
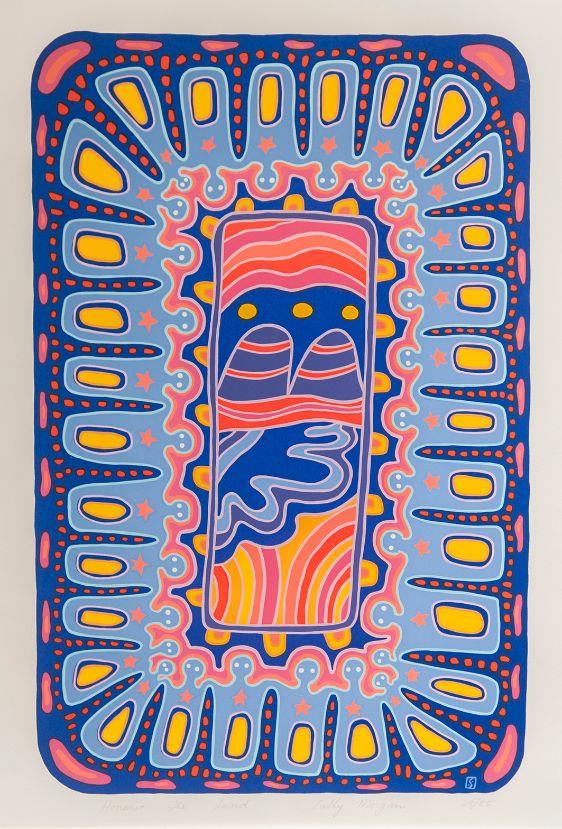
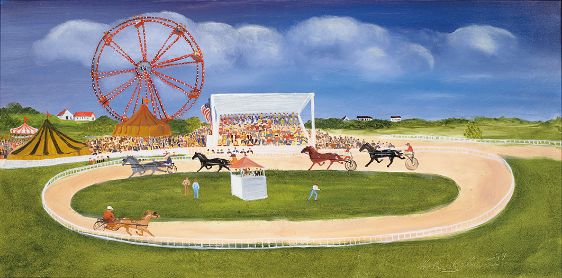
Reproduce an image from the Muscarelle’s collection.
Advanced (ages 18+)
Produce an original work based on this line from Rachel Carson’s Silent Spring:
“There is something infinitely healing in the repeated refrains of nature –
the assurance that dawn comes after night, and spring after winter.”
General Competition Rules
1. Your piece should reproduce one of the images chosen from the Muscarelle’s collection (available on our website) OR be an original work (depending on competition level).
2. Your piece must be:
– created using only chalk.
– a minimum of 8 feet wide.
3. You must obtain permission to create your piece in a space that does not belong to you.
4. When submitting your piece, include 3 images:
– an image with of the piece by itself
– an image of the piece with a person next to the piece (for scale)
– an image of the group or individual that created the piece
5. Only 1 submission is allowed per registration.
6. If registering more than once, use a new team name each time you submit a piece.
7. All submissions must be received by submission deadline listed on https://www.muscarelle.org/chalkart.
9. The winning pieces will be selected from the pool of submissions and announced via social media and our website.
The winners will be contacted by the Muscarelle directly, by email. Winners will be paid by check, issued and mailed by the Muscarelle or our partners.
10. Images submitted to the competition may be used in social media posts, on our website, and in printed materials.
By entering the Muscarelle Chalk Art Competition you grant permission for their use.
Using the grid method:
A helper's guide to creating your chalk masterpiece
Not all of us are experienced artists, let alone chalk artists, and that is okay! This guide introduces the “Grid Method” which is a common technique used to recreate large pieces of art. This is when you take an image, draw even squares over top of it (a grid), you create a proportional grid on the area you want to chalk, and you use the original reference image to try to recreate the image, square by square onto the ground so that it looks the same. This guide is here to help you on your journey and answer any questions you may have.
Step 1: Selecting your image
After registering, you’ll be taken to a page where you can select the art piece that you will recreate! All 50 images are pieces from the Muscarelle Museum of Art’s collection.


Here are some things to keep in mind:
Material Availability: For example, if you have limited choices of colors, choose an image that does not require too many colors.
Interest: Pick an image that speaks to you! It will be much more fun to recreate an art piece that you love, rather than one you think would be easy.
Skill Level: If you are a novice chalk artist, pick an image with a simple shape, which will be easier to break down when recreating it.
Getting Creative: You don’t have to draw the image exactly how it is presented. We are not judging solely on your ability to copy, but also on your artistic liberties!
Step 2: Gathering your materials
After picking your image, it is time to collect your materials.
Here is a list of recommended materials that can make the process easier. Not all are required, but can help!
Measuring tape
Painter’s tape/duct tape
A broom
Chalk
Soft pad for kneeling on
A printed photo of your art piece (reference image)
Sharpie
A ruler
Old paint brushes.
*The uses of these materials will be further explained in the following steps!
Step 3: Gridding your reference image
After printing out your photo, this will be used as your reference when creating your piece. Use your ruler and sharpie to grid off your image. A common grid is made using 1 square inch blocks, which will translate onto the ground as 1 square foot blocks. If you want to make your blocks bigger, you can make 2 square inch blocks on your reference photo, which will translate to two square foot blocks on your chalk drawing. For our example, we gridded our photo using 2 square inch blocks.
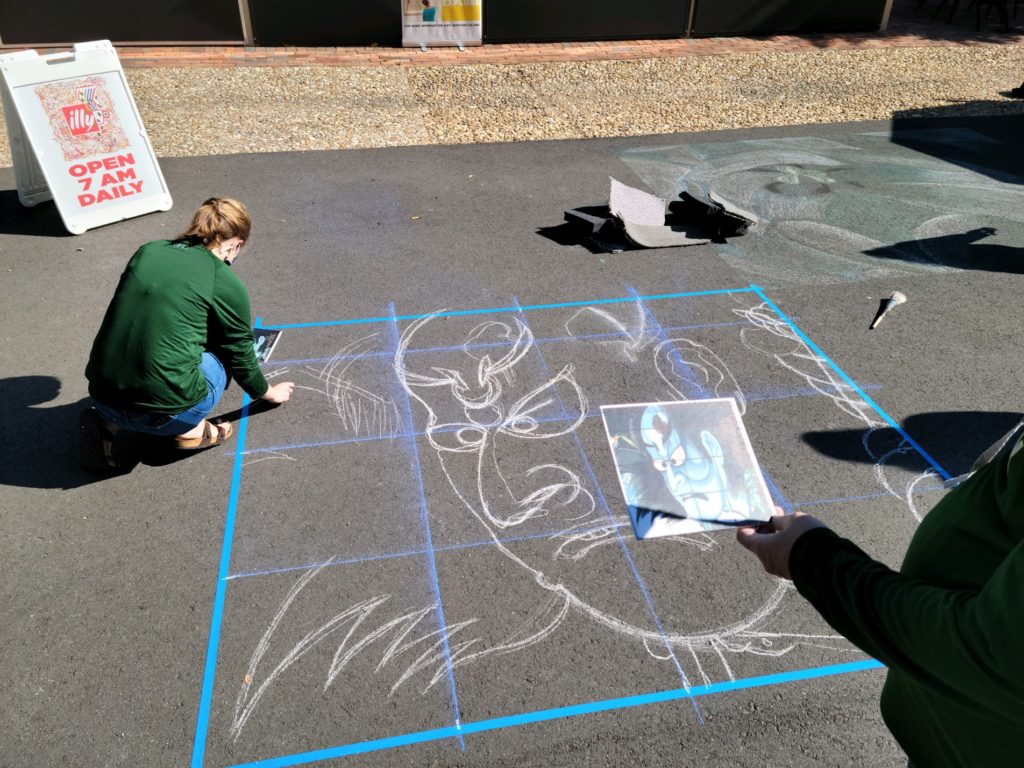
Step 4: Laying the groundwork
After gridding your reference photo, it is time to section off the area of the ground that you will be working on. We recommend sweeping off the area before going any further. Use chalk and your measuring tape to mark the corners of your piece. Our example photo came out to be 7×8 square inches, so we sectioned off our area to be 7×8 square feet. After marking the corners of your piece, you can use painters tape or duct tape to connect the corner and mark the perimeter of your chalk drawing.
– Determine which side is the bottom of your image.
– Start at the bottom left corner and mark every section from left to right.
– Go to the top left corner and mark every section from left to right.
– Go to the bottom left corner and mark every foot from bottom to top.
– Go to the bottom right corner and mark every foot from bottom to top.
Step 5: Sectioning the ground and creating your grid
After marking off your area, it is time to recreate your grid on the ground. Make sure you are being consistent with the proportions that you chose. We remained consistent that every two square inches on our reference photo, translated to two square feet on our chalk drawing.
To make your grid, line up the ticks on the top of your image and the one on the bottom of your image, and connect them using a chalk line, do the same with the risks on the left and right side of your image. This will make a complete grid over top of your piece, proportional to the one on your reference photo.

Step 6: Outlining your image
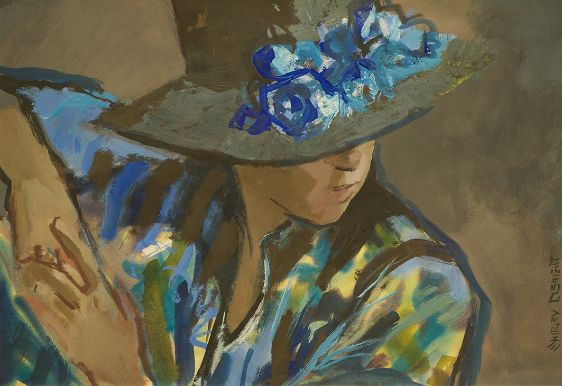
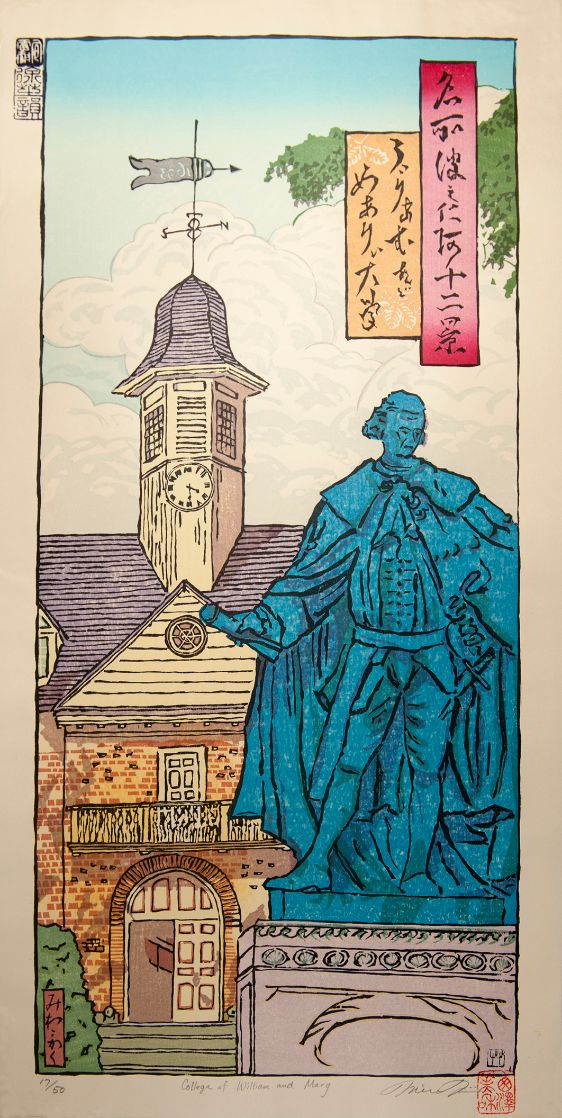
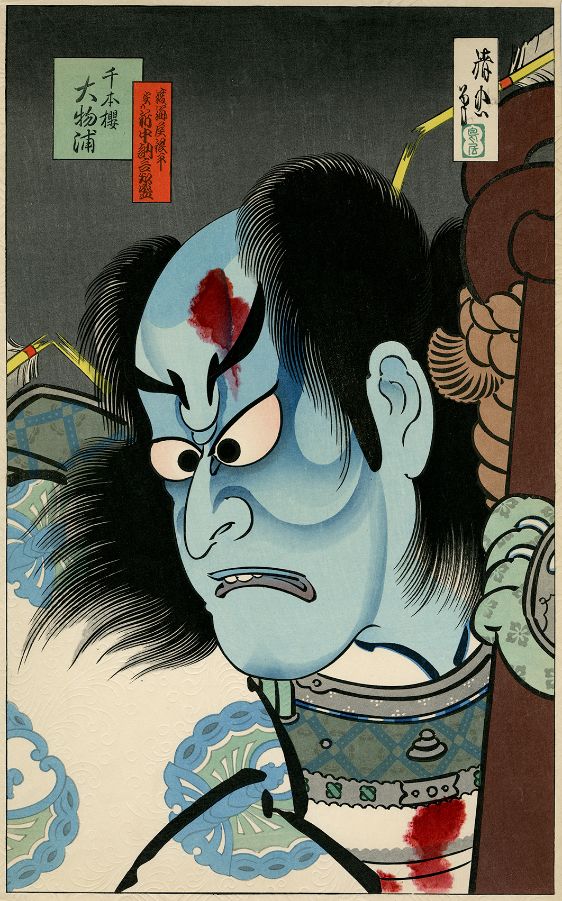
Using your reference image, begin marking the significant shapes on your chalk grid.
For example, in our recreation of Torii Kotondo’s Tommori, we marked off the basic shape of his face, hair, and weapon. Remember to use your reference image to line up where the shapes go!! This helps keep the chalk image in the correct proportions.
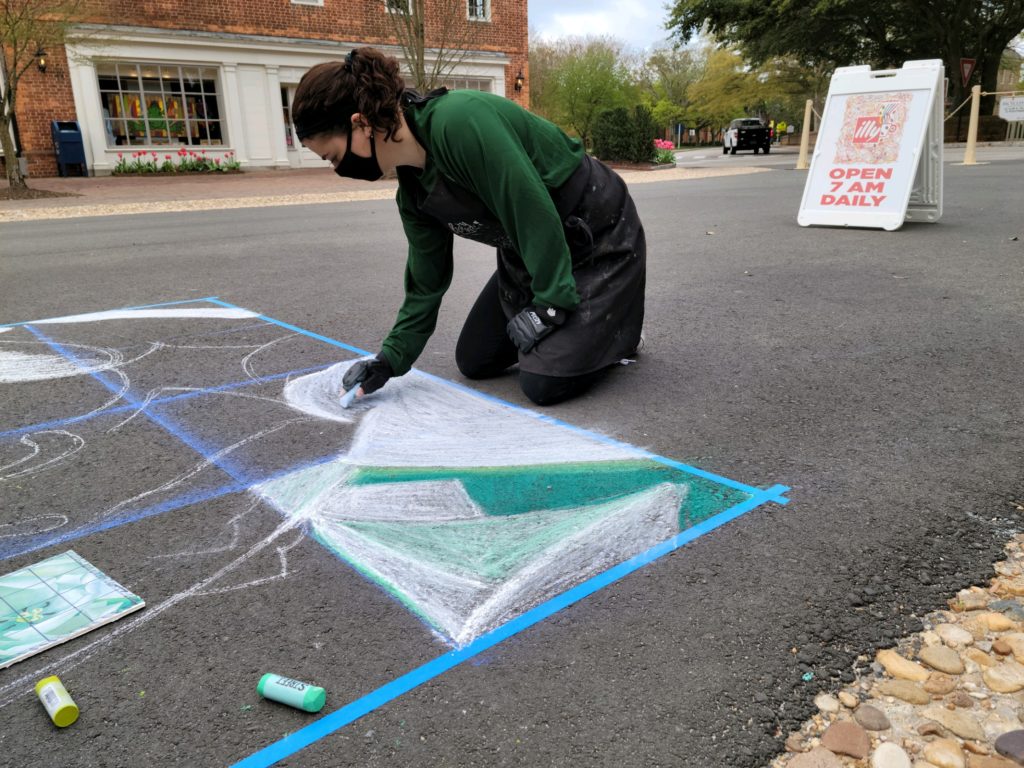
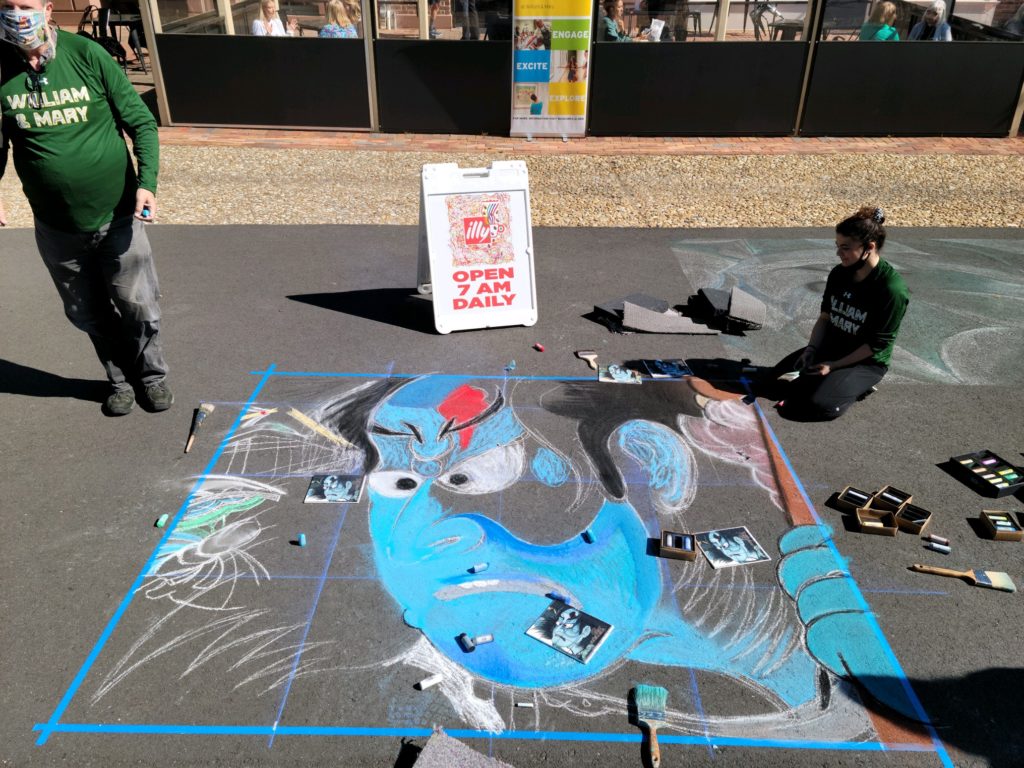
Step 7: Color!
And we have come to the fun part of coloring in your image. You can use a variety of tools to do this. We used old paint brushes to move the color around and blend. After you are satisfied with the colors you have added, you can pull up your tape and marvel at your finished masterpiece.


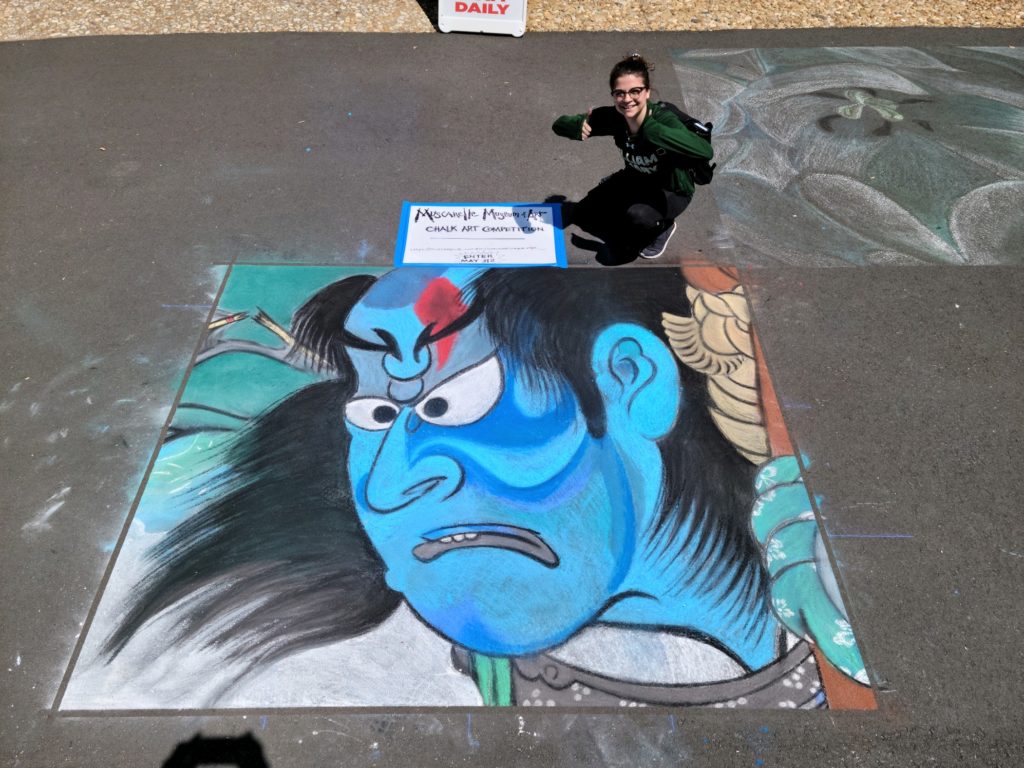
Step 8: Taking the photos
DO NOT FORGET to take a good quality image of your completed work (JPG or PNG, minimum DPI of 72, minimum pixels of 1000px wide, and a maximum file size of 10mb). Your piece will be judged based on the photo submission. Make sure you get 3 photos of your completed piece:
– the piece on its own
– a photo of the piece and an individual (this will help us judge if you followed the size requirements)
– a photo of everyone who worked on the piece
Some tips on getting a good photo:
– Get a good angle! Take the photo from high up so that we can see the image in proportion.
– Make sure the camera is in focus! So no blurry images!
– Try to eliminate any shadows over your piece so that we can see all the colors and parts equally! Try using a flash to eliminate shadows, but look out for over exposure (the image being too bright).